
Photography as a Hobby for Beginners: Unlock Your Artistic Vision
Photography can be a fulfilling and enjoyable hobby that brings a creative outlet to your
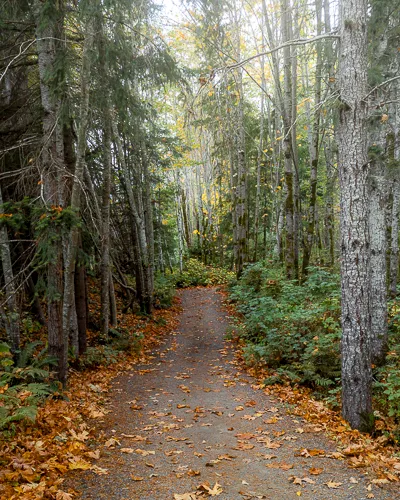

I suck at forest photography. It’s one of the hardest styles to photograph. It’s just so cluttered. Therefore, I decided I would actually write a blog on the topic.
Well! If you suck at it, how can you write a blog? Easy like any talented photographer, we start by researching the internet. Finding locations, see what others are shooting, and just figure it all out.
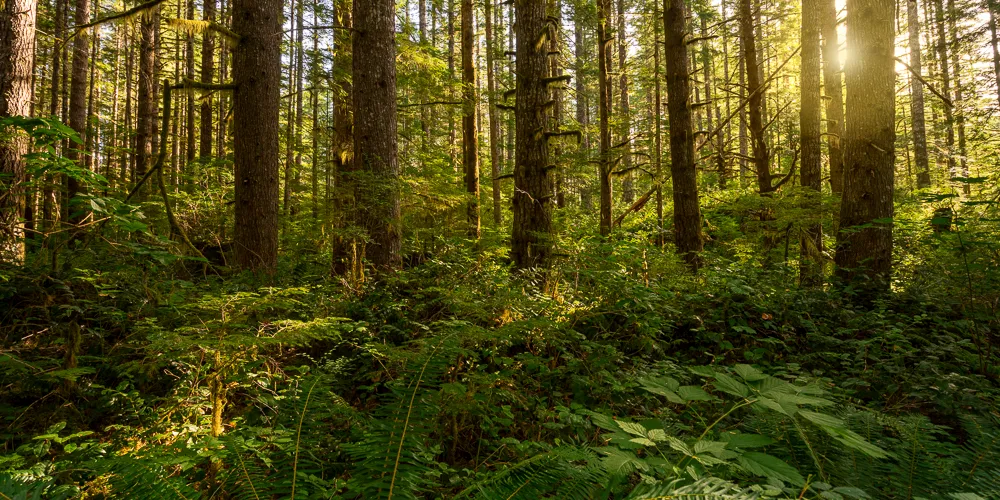
When it comes to taking amazing pictures in the forests, one of the best things you can do is take the time to scout an area. This will allow you to get a feel for the place and find the best possible composition for your shots.
Pay attention to the light at different times of day. Lighting can have a big impact on the overall mood of your photos.
Finally, look for interesting compositional elements. This could include anything from a lone tree in the middle of a field to a river running through the forest. By finding these elements, you’ll be able to add an extra layer of interest to your photos.
When you arrive at your chosen forest photography spot, take time to explore. Look for the best vantage points to take photos. Logging roads, walking tracks and observation areas are all great places to set up your camera and tripod. Keep an eye out for your safety and never venture too far.
In order to get the best possible pictures of forests, it is important to do your research ahead of time. Look for places that are both safe and accessible. Once you’ve decided on your destination, explore the area. With a little planning and exploration, you can get some amazing pictures of forests.
The golden hour is the hour just after sunrise and the hour before sunset. Light is softer and more diffuse as the sun is at its lowest angle. Colours will be more saturated.
To make the most of the golden hour.
Any time of day is good for forest photography. But certain lighting situations are preferable.
Bad weather can actually make for some of the most amazing forest photos. The mist and fog drifting between the trees dramatically changes your depth experience. Darkness and moodiness make forests a great place to shoot in bad weather.
Here are a few tips for shooting in inclement weather:
With a bit of preparation, you can get some truly stunning photographs of forests in bad weather.
A telephoto lens is a must when shooting in the forest. It allows you to compress the scene, which can help you focus on a specific area. Did you know that telephoto lenses cause less distortion and can help straighten out tree trunks?
When shooting with a telephoto lens, be sure to pay attention to your depth of field. You want to have your foreground elements in focus, with the background elements softening. This will help create a sense of dimension and depth in your image.
A wide-angle lens is an ideal choice when trying to capture more scenery in your forest images. A wide-angle lens allows compositions to show the depth of the forest.
While shooting with a wide-angle lens, you can get close to a smaller foreground subject. This will help fill the frame and add a sense of scale to your image.
A wide aperture (low f-stop number) creates a shallow depth of field with close subjects in focus and a blurred background. To get sharp focus on your foreground subjects, use a lower aperture. The subjects in the background will progressively blur and lose clarity. Keeping the viewers’ attention
A macro lens is a great tool for taking pictures of forests. It allows you to capture the uniqueness of the plants and insects. Forests are a microcosm of life, and much of what is happening is right under our feet. Packing a macro will remind you to slow down and look for what’s going on between your boots.
Here are some tips for using a macro lens to take amazing pictures of forests:
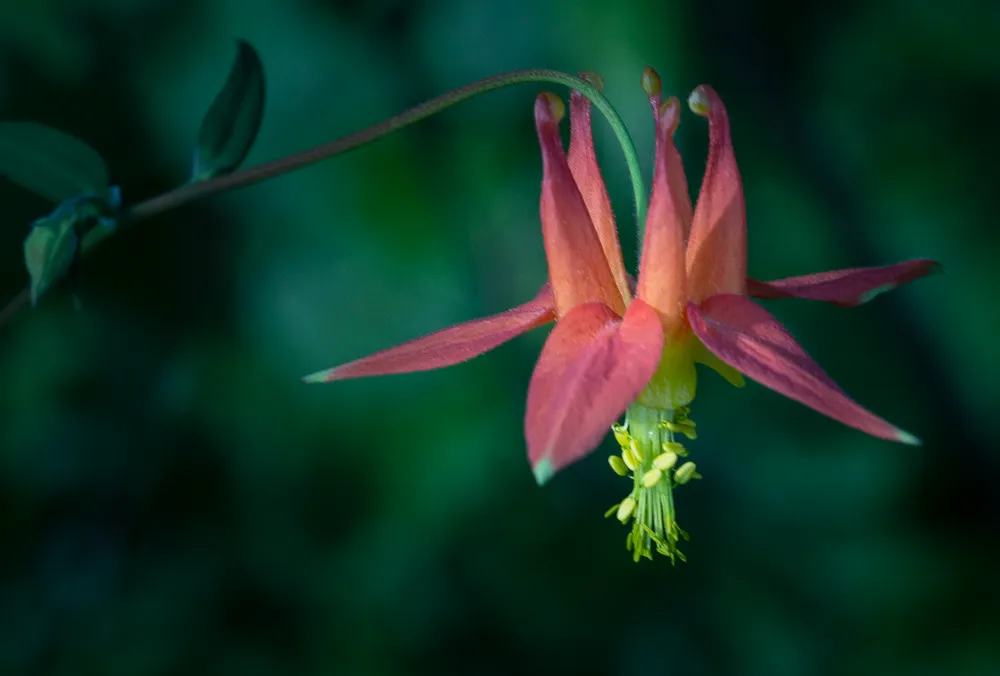
If you want to take amazing pictures of forests, pack a tripod! A tripod will help you stabilize your camera when taking pictures, especially if you are using a macro lens. To extend that depth of field with a macro lens, you could try focus stacking.
Focus stacking is a technique where you take multiple pictures of the same subject at different focus lengths, then combine them into one picture. This will ensure that your photo is in focus.
Polarizing filters are placed in front of the camera lens and reduce glare on reflections. They also darken skies and manage reflections and glare from bodies of water. This added contrast to skies and clouds. In addition, a polarizing filter can help reduce the reflection from and increase the saturation from the leaves of the trees.
Protect that lens. You are, after all, in a forest where sticks and twigs and other objects protrude everywhere. A UV filter is an ultraviolet ray-blocking glass filter that fits over the front of your camera lens. While they were once required for film photography, most photographers now use them to protect their lenses.
In order to take amazing pictures of forests, it is important to control your shutter speed.
Here are a few things to remember.
Aperture is one of the three main pillars of photography along with shutter speed and ISO. It’s also one of the most important settings on your camera, as it dictates how much light comes into the camera and how much of the scene is in focus.
Keep these items in mind when selecting your aperture:
While you’re in the forest, take time to find shapes, contrasts, lines, colour, and framing.
The sun casts strong shadows during the day, so it’s best to photograph in the early morning or late afternoon when the light is softer. You can still play with the sunlight a bit when the sun is low..
In order to take an amazing picture of a forest, it is important to frame your shot. Using natural subjects, trees or rocks, to frame the scene. Using low-hanging vegetation to apply a horizontal frame to the top section of your photo will help to create a more visually appealing composition.
Leading lines are a great way to guide the viewer through your image. Leading lines can be created by the sharp rays of light, shadows among the trees. Use leading lines to transport the viewer into the scene.
If you want to create a creative scenario, look for natural components. Natural framing is used to fill in regions that could otherwise lack attention and to cover up distracting features. The frame may divert attention away from such regions and transform an unremarkable sight into one that is harmonious and offers balance.
Use natural subjects to frame your shot. For example, if you’re photographing a forest, you can use trees to frame your shot. Viewer shouldn’t be aware of a well-designed frame.
When looking for a place to take forest photos. look for contrast that already exists in the area. You can use this contrast to your advantage to make your photos more interesting. For example, if you’re photographing a forest, look for areas where there are light and dark areas. Contrast can make your photos more interesting.
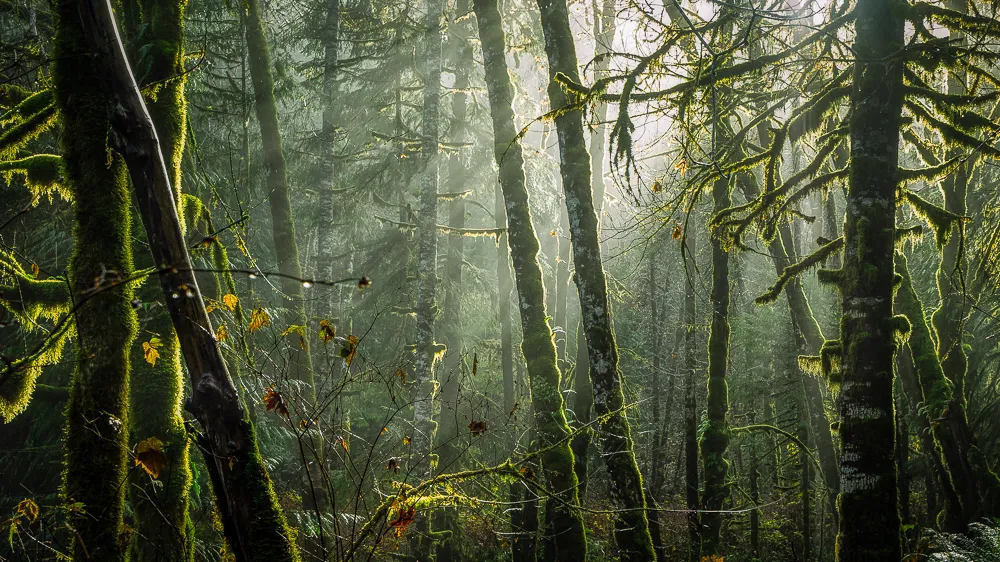
Create a series of photographs using all four seasons. Each season offers different conditions and lighting.
Autumn is a great time as the trees turn gold, and the sunlight makes their leaves glow. Winter is also a beautiful when everything turns white and looks new again after each snowfall. In summer, everything is green and the trees are full bodied.
Our favourite is to shoot from the ground up. Another tip is to shoot straight up to catch trees with long leading lines. A third tip is to lie down to emphasize the size of the trees. These tips should leave your viewer in awe.
Do the opposite, shoot from the top down. This will give you a unique perspective that differs from photo taken from ground up. Shoot from the top down, you show off the textures of the forest. In addition, if there is a nearby body of water, shooting from the top down will allow you to show off the deep blue waters in your photos.
Wanting a different outcome for your forest photography? Try shooting at night! You’ll be able to capture the cool blue glow of the forest during the blue hour, and when the moon is casting a white glow, you may get a ghostly look.
Remember to adjust your camera settings according to the conditions.
Try black and white to improve the contrast in your forest photos. It is said that black and white allows you to focus on the highlights and shadows of your photos, rather than the colours. Shooting in black and white can be helpful if you feel that colour consistency is a problem in your photos.
If you’re going to spend time in a forest, it’s important to be mindful of others who might also use the location. If you’re photographing with friends, communicate quietly so as not to disturb the natural peace of the forest. Be respectful of nature. Remember, leave only footprints behind.
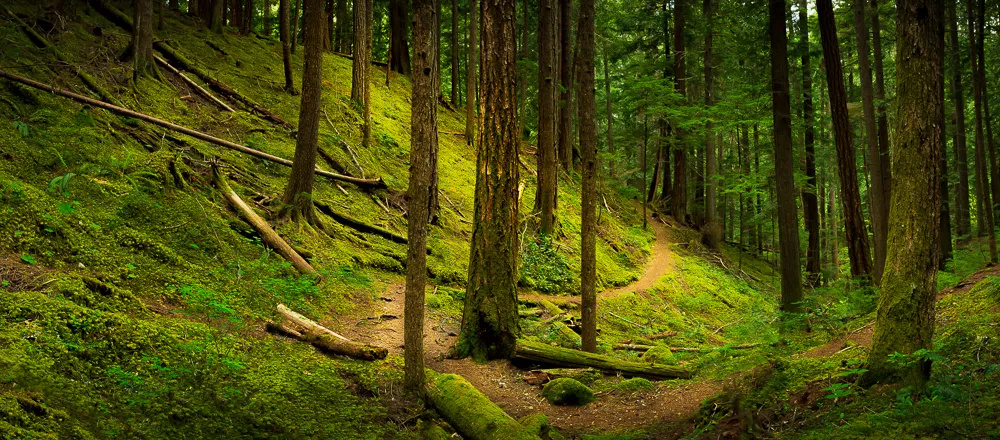
Autumn is the most popular season for forest photography as the leaves are changing colour. Whiteness of winter and the absence of leaves on the trees can create a strange, icy feeling. The forests are green and full of life during the summer.
When scouting for locations, it’s important to check the direction of the light. Knowing when sunrise and sunset will help you choose the best time of day. Using your smartphone and an app called PhotoPills can help.
Try to imagine how things will look during different seasons. Light and leaves will be different.
Thick fog and clouds are great conditions. They provide excellent shooting throughout the day, depending on how low the clouds are and how thick the fog is. Clouds can move through the forest and mountains all day, making it perfect for these mystic conditions.
I prefer to photograph the forests late morning and early afternoon. Watch for the sun to peek around trees and illuminating the moss. Also try photographing forests at sunset and the golden hour. If you want to capture the forest in a different light, you can also try shooting during the blue hour.
Additionally fantastic for forest photography. Anytime there is fog, head out as soon as the sun rises. Beautiful light beams will peek through the foliage.
Visit a dense forest with adequate covering for this. Through the gaps in the thickness, the light will shine through and produce truly magnificent light beams.
Not all light beams are “photoshopped” F22 can produce wonderful light beams. You may feel you’re in a dream world.
Don’t want fog? Head-out late afternoon, when the sun has dispersed the fog. Also consider photographing the forest during the evening, when the sun is not as high in the sky. This will help to avoid harsh shadows.
Not the best time for woodland photography. There is little light. The separation of the trees will be quite poor, making it challenging to produce an appealing composition. However, you may still capture some beautiful macro shots of the forest in flat light.
The chilly earth is heated by the sun during this time of year, which frequently results in high humidity levels. There is a significant likelihood of light rays at these hours. It’s the enchanted atmosphere that many photographers strive for. When I can photograph all day in mysterious settings, I like really heavy fog.
When photographing the forest, it is important to bring an extra layer of clothing. I would also suggest a breathable water-resistant jacket. This will protect you from the elements and keep you dry and comfortable. At the very least, put the coat in your bag.
I prefer long pants, such as hiking pants, jeans, or khakis. Pants offer more coverage and protection from the elements, such as branches, thorns and the mosquitoes.
When hiking in the forest, it is essential to have the right shoes. Get durable hiking boots. You will be glad you did. Sandals or flip-flops are not ideal, they will not protect your feet.
We hope you enjoyed this guide on how to take stunning forest photography. If you want to learn more about photography, be sure to check out our other post on photography tips. Thanks for reading!
Forest photography captures the beauty of woodlands, showcasing trees, wildlife, and natural elements. It’s a genre focused on the art of capturing the forest’s essence and diverse elements.
For forest photography, use wide apertures (f/2.8-f/5.6) to create a shallow depth of field, capture detail, and isolate subjects like trees and wildlife. Adjust ISO for lighting conditions, and consider a tripod for stability in low light.
For forest photography, it’s best to use a slower shutter speed, such as 1/60 to 1/100 seconds, to capture the natural beauty while maintaining image sharpness.

Photography can be a fulfilling and enjoyable hobby that brings a creative outlet to your

Welcome to our guide to Photoshop tutorials for beginners: A Complete Beginner’s Tutorial for Learning
Creating stunning images is all about nailing the perfect colour grade. It’s what makes your