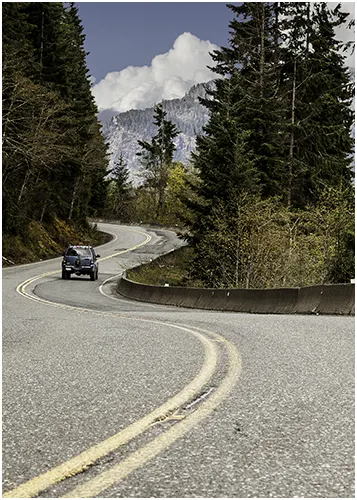
S Curve Photography: A Composition Technique for Photos
S curve photography is easy to practise here on Vancouver Island because the roads rarely

Show Mom Some Love For Less, Mothers Day Sale – 25% off
Did you know that a variable neutral density filter gives you adjustable light control without the hassle of swapping or adding more filters? I find this especially useful when photographing sunsets or sunrises, where the light changes quickly and a small adjustment can make a big difference to shutter speed. Instead of reaching into your bag for another filter, you simply rotate the ring to adjust exposure as the light or subject movement changes.
A variable ND filter uses two polarizing elements to reduce the light reaching the sensor. Rotating its ring changes their relationship, so the filter becomes lighter or darker within its working range. This adjustment changes the amount of light reaching the sensor, giving us direct exposure control without changing the aperture and ISO.
Each stop cuts the light by half. If your base exposure is 1/30 second, adding three stops lets you use about 1/4 second while keeping the same ISO and aperture. That longer exposure can soften moving water, stretch cloud movement, or blur wind-blown grass.
The filter darkens the whole frame, whereas a graduated ND has dark and clear sections for balancing a bright sky with darker land. A variable model also isn’t a normal circular polarizer. Unlike a CPL, it is designed primarily to darken the frame rather than provide a predictable polarizing effect for controlling reflection or glare.
Adjustable density helps when light or your creative goal changes. Rotate the ring for more or less reduction instead of swapping fixed filters. That flexibility is useful during lighting changes, from low light at the edge of the day to bright light in broad daylight.
It can help when you want to:
Stop ranges differ, and markings aren’t always calibrated. Treat the scale as a reference unless the manufacturer says otherwise. Judge the image, not only the printed number. A 1-stop change may be enough for a small correction, while a model rated to eight stops can provide much stronger reduction; actual usable density still depends on the filter and lens combination.
Download your free trial today!
Problems usually appear near the darkest end of the range. The two polarizing elements can create cross-polarization, which may show as a dark X, uneven bands, or corners that don’t match the centre.
Wide-angle lenses can reveal the problem earlier. A thick ring may cause vignetting, while polarization can make a broad blue sky look patchy. Filter quality, focal length, sensor size, angle to the sun, and density all affect the result. Strong sunlight can also make uneven shading or flare more obvious, particularly when the front glass catches light at an angle.
Watch for these warning signs:
Don’t assume the maximum mark is usable. Turn the ring back until the frame looks even. If the shutter remains too fast, use a stronger fixed ND or shoot in lower light. If a cross pattern appears, treat it as an artifact caused by the filter being pushed beyond its practical range rather than as useful extra opacity.
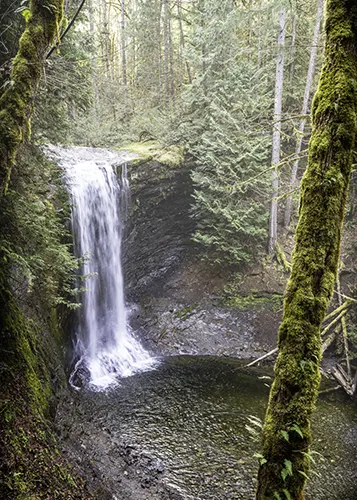
Compose the frame before adding the filter to the lens. Use a tripod when the shutter speed is too slow to hold reliably. In daylight, this approach can help preserve a correct exposure while extending the shutter time for a waterfall or other moving subject.
Compare several frames instead of choosing the darkest filter position. When adjusting the exposure, watch both the moving subject and the background so added blur supports the composition rather than distracting from it.
| Shooting Goal | Density Approach | Main Check |
|---|---|---|
| Add slight water movement | Start near minimum | Keep useful texture |
| Smooth waves or waterfalls | Increase in small steps | Check highlights and foliage |
| Stretch cloud movement | Use stronger density | Inspect frame edges |
| Hold a wide aperture | Add only needed density | Confirm focus and exposure |
| Make a very long exposure | Consider fixed ND | Watch for uneven darkening |
Choose a variable when quick adjustment matters. It works well in fast-changing light and when you want to change shutter speeds without swapping filters. It is also practical for video work, where smooth exposure changes may be needed while keeping a shallow depth of field or leaving the lens wide open.
Choose a fixed ND when you need reduction and even coverage. It is often used for very long exposures.
You can carry both: a variable filter for lighter adjustments and one fixed filter for stronger long exposures. For some scenes, a fixed filter is the better alternative because it avoids the interaction between two polarizing layers.
Before choosing, ask:
Buy for your largest lens thread, then use step-up rings on smaller lenses. Check whether the outer ring blocks a lens hood or needs a different cap.
For wide lenses, seek a slim mount and test the widest focal length. Stacking filters adds thickness and can increase vignetting, flare, and reflections.
Check the stop range, whether markings represent measured stops, and whether the ring has end stops. These details make adjustments easier to repeat.
In my opinion it isn’t always the best choice. Variable ND filters can introduce several issues, especially at stronger settings or when used on wide-angle lenses:
A fixed ND is often more predictable for very long exposures and wide-angle scenes.
A variable neutral density filter is a good choice when quick adjustment saves time and the frame stays constant. You’ll want to use only the density needed. Choose a fixed ND when consistent coverage matters more than speed. The same principle applies whether you are making a still photo or shooting video: add only enough filtration to reach the creative setting you’re going for.
Variable ND filters are good for landscapes when changing light or motion calls for quick shutter-speed adjustment. Check the sky and corners after every shot, especially with a wide-angle lens..
Variable ND is better than fixed ND when fast adjustment matters. Fixed ND is often better for repeatable density, very long exposures, or wide scenes where even coverage is the priority.
The dark X pattern is caused by cross-polarization between the filter’s two polarizing elements. It often appears near maximum density, so rotate back toward a lighter setting.

S curve photography is easy to practise here on Vancouver Island because the roads rarely

I’ve found that perspective can entirely change how a photograph feels. In a landscape, moving

I’ve been to Lake Helen Mackenzie many times over the years. It’s a good option