Photography as a Hobby for Beginners: Unlock Your Artistic Vision
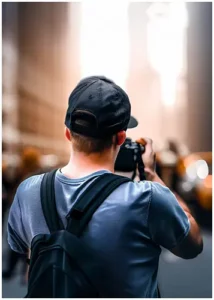
Photography can be a fulfilling and enjoyable hobby that brings a creative outlet to your


Why use auto ISO for wildlife photography you ask? Digital cameras are so far advanced today that it is sometimes difficult to know which settings to choose in each situation.
The opportunity to shoot wildlife in all its natural glory doesn’t come around too often for most of us. That is the reason we need to set our cameras for the perfect exposure to gain the perfect image, even in poorly lit, fast-action conditions.
Understanding ISO and the way it behaves is one of the secrets to successful photography. Where the subject matter is still and in natural light, setting ISO is relatively straightforward.
In the wild, where animals move, sometimes very fast, and behave unpredictably, the ability to use automatic ISO often means the difference between a blurry snap or a professional standard photograph.
If you’re still wondering why you should use auto-ISO for wildlife photography, read on.
ISO is an electronic process that occurs within a camera. It controls the sensitivity of its sensor to light. ISO levels are a series of numbers, usually 100 – 1600, although modern cameras have levels as low as 50 and as high as 3million. Lower numbers are associated with bright lighting conditions; higher ISO levels are required where ambient lighting is poor. Raising the ISO is advised in situations where little light is available and faster shutter speed is needed. Each time you double the ISO, you halve the amount of light the camera needs to achieve the same exposure.
Before the advent of digital cameras, we relied on rolls of film. Each marked with an ISO number, often between 100 and 400. Every single frame taken with that roll would be with the same level of light sensitivity. We live in the era of DSLR cameras, where, if we choose to, the ISO number is adjustable between every single shot. Auto ISO is where the camera chooses the optimum exposure settings on your behalf. It is the most efficient option, ruling out the constant need to adjust aperture and shutter speed. Not only is this good for novice photographers, but it is also ideal for fast-moving situations such as indoor sports or wildlife photography.
Use Auto-ISO in manual mode which, basically turns manual exposure into auto-exposure. The user needs to set the minimum required shutter speed; this will probably be the fastest to stop the action dead in its tracks. Once you have loaded your desired f/stop speed, the camera chooses the optimal ISO for the situation. It ensures the user retains the perfect balance of exposure while remaining in control of pre-set shutter speeds.
Auto ISO can be an incredibly useful setting on your camera. You set the shutter speed or aperture and the camera controls the ISO. This works extremely well in low light conditions and wildlife.
To set Auto ISO, go to your camera’s menu or button menu, select “ISO” and scroll to the beginning of the list. There you should see Auto.
Why is my auto ISO so high? On some camera you can also adjust the maximum ISO value that will be used in Auto ISO mode.
Auto ISO can be used for many things. It can help to get a faster shutter speed when shooting in low-light situations without having to worry about manually setting your ISO. It can also be used in combination with other features to help compensate for changing lighting conditions. With Auto ISO enabled, the camera will automatically adjust the ISO when you change the aperture or shutter speed accordingly regardless of what settings are actually selected by the photographer. This means that even though the photographer may not have explicitly set the ISO manually, they still have control over it by choosing whether they want Auto ISO on or off.
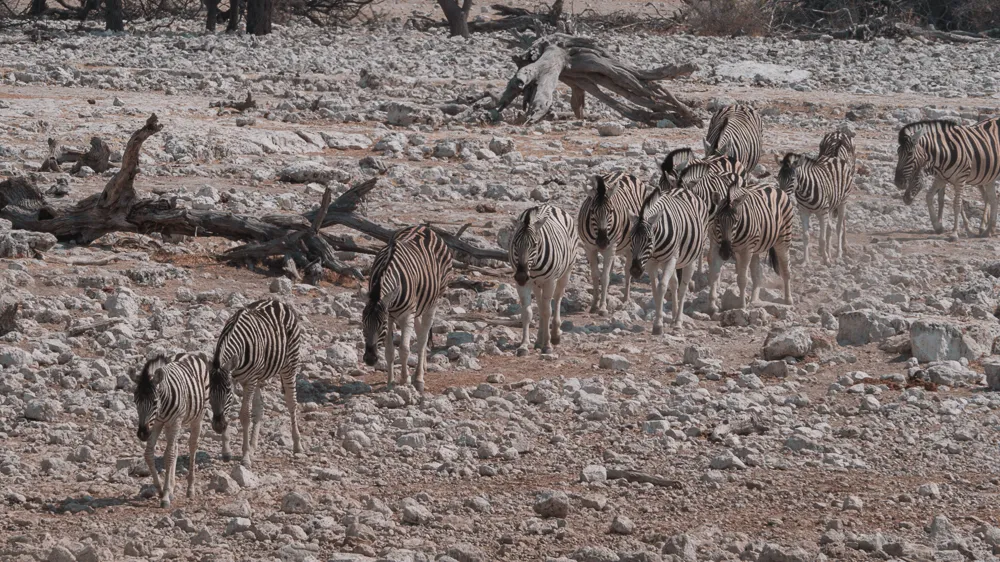
The best part of wildlife photography is its unpredictability. Even the professionals never get two identical shots as the animals plus their environment regularly move and change. Automatic ISO ensures that every image is set to the perfect exposure as if taken in natural daylight. It gives the user the ability to capture a cheetah running at speed with no blurriness or a slower moving elephant drinking at a watering hole as the sun begins to set. Action shots are difficult to perfect; most will have little clarity and appear blurred or out of focus. Auto-ISO ensures the light, aperture, and shutter speeds combine to produce the best wildlife shot imaginable.

Semi-auto mode is a great option for those who want to have more control over their camera but not as much. The semi auto modes are usually Aperture Priority, Shutter Speed priority and Program Mode. These three options give the user some say in what they would like done with certain aspects of photography without having full manual controls. For example trying to adjust manual mode while photographing a cheetah running or a bird in flight you may not be quick enough with the shutter button. Setting your camera to Aperture Priority and Auto ISO allows the user to set their desired aperture and then have it automatically adjust shutter speed. The camera will also change ISO as needed in order for a correct exposure For example if you are photographing wildlife on an overcast day, your lens may not be able use enough light so that would mean increasing its sensitivity.
Do you want to make the action come alive or freeze it in time? With Shutter Priority, select your shutter speed based on what’s important. If motion is key and everything else can blur together into an abstract mess of colours and shapes, then go for a slow exposure so that each subject has their own moment frozen still – if every detail matters (Cheetah chasing its prey, or a bird in flight.) going with a faster shutter speed!
But beware: as soon as something moves within your frame right before clicking the button, all those lovely details will turn blurry unless they were quick enough not to move too far out of focus.
Yes some professional photographer only use Auto ISO. If the lighting condition is changing rapidly than there is a definite advantage to using Auto ISO.
My advice for any wildlife photographers would be to try shooting with Auto ISO. There is a definite advantage to having your camera set up for maximum gain with minimal effort and getting as much out of every session no matter what animals you’re photographing!
When photographing landscape, architecture and other types where you have time set up the shot. Sometimes Aperture takes priority over shutter speed. But not necessarily in wildlife photography using auto-ISO and shutter speed priority, will help capture all those fleeting moments that might otherwise be missed.
How do professional photographers decide what setting they should choose? Professional photographer usually consider their subject when deciding on which settings are best — but this is just one consideration among many others such as lens choice (zoom vs prime), aperture, so there’s no straightforward answer here!
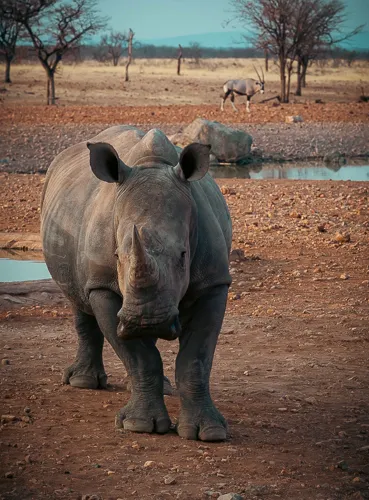
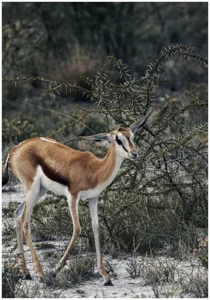
The importance of using auto ISO for wildlife. The first thing to consider is the subject: what are you photographing? Mammals and birds can be difficult subjects, they don’t pose or keep still so it’s important that your camera settings are dialed in so you don’t miss the shot!
When shooting wildlife Shutter Speed Priority and Auto IOS will help you be prepared when there’s no time to adjust the camera. Not everyone will agree about which settings should be used. Again some prefer manual other will choose Aperture. What ever you choose don’t let that one perfect shot get away.

Photography can be a fulfilling and enjoyable hobby that brings a creative outlet to your

Welcome to our guide to Photoshop tutorials for beginners: A Complete Beginner’s Tutorial for Learning

Creating stunning images is all about nailing the perfect colour grade. It’s what makes your