ON1 NoNoise AI Review: Eliminate Noise & Sharpen Your Photos
Are you tired of noise or grain messing up your photos? ON1 NoNoise AI could


Are you tired of noise or grain messing up your photos? ON1 NoNoise AI could
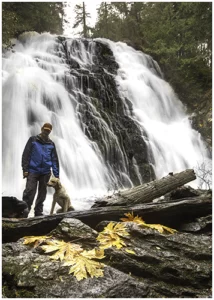
Every time I get ready to photograph a waterfall, I feel a rush of excitement.
If you’re looking for an easy hike, well… this hike is not it! Most of