ON1 Effects Review for Photographers | Tools, AI & Workflow
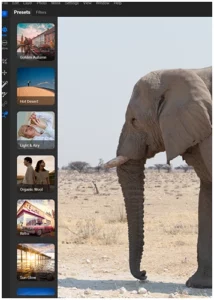
Did you know that more than 70% of photographers believe that editing software is essential


Did you know that more than 70% of photographers believe that editing software is essential

Long Beach is one of those places I keep coming back to, even when I
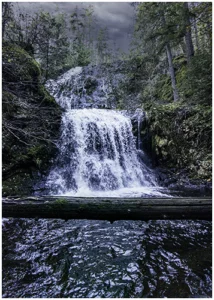
I still remember the first time I headed out to photograph waterfalls. The long hike