Stokes Creek Falls in Port Alberni: Trail Guide & Directions
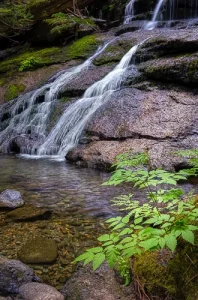
Some places are easy to miss, even when you know the area well. Stokes Creek


Some places are easy to miss, even when you know the area well. Stokes Creek

As we get older, our colour vision changes, and the result affects our life, including
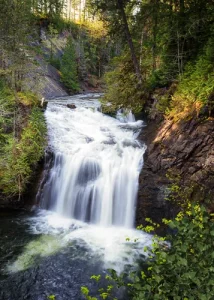
Trent River Falls is a short but rewarding hike just outside Courtenay on Vancouver Island.