
How Aging Eyes Affect Colour Perception in Photography After 50
As we get older, our colour vision changes, and the result affects our life, including


To capture long-exposure waterfall photography, you need to understand the technical aspects. However, don’t forget to consider composition and camera settings as well.
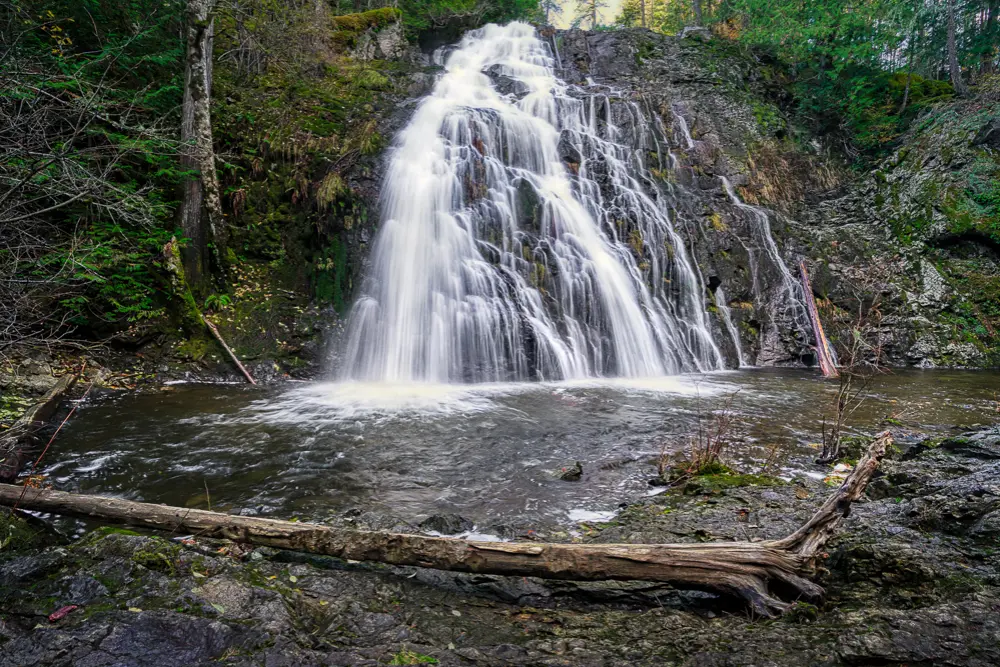
When composing your photo, consider using the rule of thirds to create a balanced and visually pleasing image. To capture landscape photos, divide your frame into nine equal parts using two horizontal and two vertical lines. Sometimes, using a tripod can be helpful for this. the main elements of your composition, such as the waterfall or prominent rocks, along these lines or at their intersections.
Another effective composition technique is including leading lines in your frame. Leading lines can be rivers or man-made structures, like pathways or tree trunks, that guide the viewer’s eye to the waterfall. These lines add depth and guide the viewer’s attention to the main subject.
If you find auto-focus starts to hunt, IE move back and forth, switch to manual focus. Most cameras have a magnification feature that allows you to zoom in and fine-tune the focus on the waterfall.
Choosing the right camera settings is crucial for capturing stunning long exposure photography. Here’s a look at the key settings you need to consider:
Try different combinations of settings to find the right balance and achieve the effect you want in your waterfall photos. Practice makes perfect, so don’t be afraid to try different settings and techniques to refine your skills.
After mastering long-exposure waterfall photography basics, you can take your shots to the next level by trying advanced techniques. Use these techniques to expand your creativity.
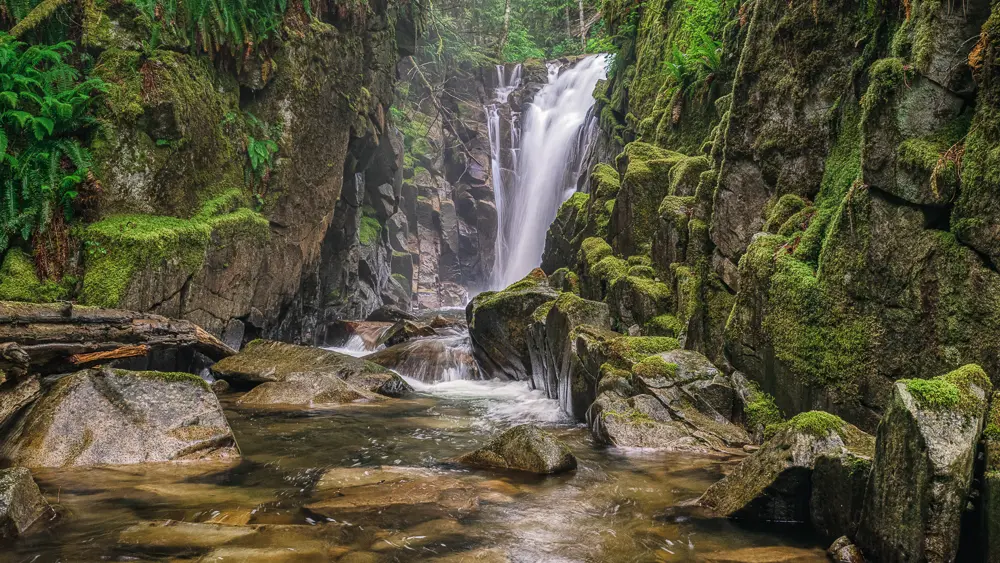
One advanced technique is using wider angles in your compositions. Sometimes, capturing a wider field of view creates dramatic perspectives in the photos. This helps the overall composition by adding depth and context to the main subject.
To achieve this, try using a wide-angle lens or zooming out to capture a broader scene. Position yourself at a vantage point where you can capture both the waterfall and its surroundings in a single frame. Experiment with different angles and compositions to find the most visually appealing perspective.
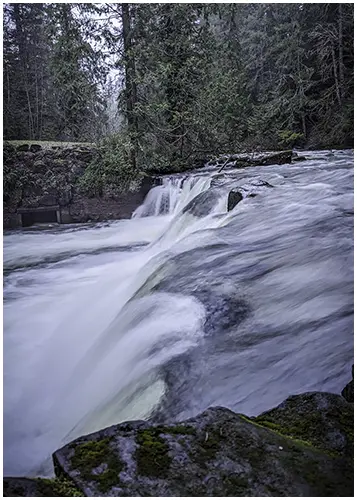
Timing and location play a critical role in capturing inspiring photos. Carefully choosing the right time of year is essential for waterfall photography. Overcast days can be your best friend.
On overcast days, the soft and diffused light provides ideal conditions for waterfall photography. The absence of harsh shadows allows for a more balanced exposure. The subdued lighting also helps to avoid overexposure in bright areas, ensuring a well-exposed image.
Each season offers a unique opportunity. In spring, vibrant foliage and new growth can provide a burst of colour and freshness, as well as higher water flow. Summer offers lush greenery perfect for landscape photography, creating dynamic and powerful compositions. Fall showcases autumn colours, adding warmth and depth to your photographs. Winter brings a sense of tranquilly and captures the magical beauty of frozen waterfalls.
Exploring waterfalls in different seasons can capture the varying beauty of nature and create a diverse portfolio of stunning images.
When photographing waterfalls, it’s crucial to take proactive measures to protect your camera equipment from the elements. Shooting near water puts your gear at risk of water damage, which can be costly and inconvenient. By implementing preventive measures, you can safeguard your equipment and focus on photographing waterfalls without worrying about potential damage.
One of the primary concerns when shooting near waterfalls is keeping your equipment dry. Water damage can occur if you’re not careful, so it’s essential to take the necessary steps to protect your gear.
Here are some tips:
Another challenge when photographing waterfalls is managing mist and water droplets that can accumulate on your lens. These can lead to unwanted artifacts in your images if not addressed properly. Here are some helpful techniques to keep your lens clear:
By following these tips, you can safeguard your camera and lens from water damage and efficiently address mist and water droplets on your lens. This allows you to focus on capturing stunning images and ensures the longevity of your gear.
After capturing breathtaking waterfall photos, the next step is post-processing to enhance the visual impact of your images. Post-processing enhances the details and colours of your photos, making them even more stunning. Here are some valuable editing tips that will help you bring out the best in your waterfall images.
To emphasize the flowing water and create a dreamy atmosphere, decrease the exposure slightly to darken the overall image and bring out the water’s silky texture. Increase the contrast to enhance the difference between highlights and shadows, adding depth to the waterfall. Lastly, dodge and burn the edges around the waterfall.
These small adjustments can make a big difference in enhancing the silky water effect.
To make your waterfall images truly pop, focus on bringing out the details and colours. Start by adjusting the saturation and vibrance levels to enhance the richness and intensity of the colours present in the photo. Be careful not to overdo it, as too much saturation can make the image appear unnatural. Next, use selective editing techniques to highlight specific areas or elements in the photo. This can be useful for accentuating details in the waterfall or the surrounding foliage.
By mastering the art of post-processing, you have the power to transform your waterfall photographs into stunning visual masterpieces. When editing your photos, try different techniques, but stay true to your vision and preserve the natural beauty of the moving water. With practice and creativity, you’ll be able to create captivating waterfall images that leave a lasting impression on viewers.
Ready to capture the silky magic of waterfalls? Long-exposure photography is your ticket! Remember, practice and patience are your best tools. Begin with the basics. sturdy tripod, the right settings, and with a bit of experimentation, you’ll master those dreamy, flowy shots. Advanced shutterbugs refine your craft by tackling spray and motion blur. Dive in, learn from every click, and let the inspiration flow. Your waterfall masterpieces await! Keep snapping, and let that shutter slowly dance with the cascading water. Happy shooting!

As we get older, our colour vision changes, and the result affects our life, including
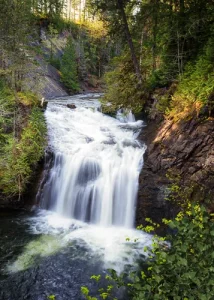
Trent River Falls is a short but rewarding hike just outside Courtenay on Vancouver Island.

Backing up photos to the cloud protects your memories from loss, damage, or device failure,