
How to Photograph the Belt of Venus at Twilight
On my latest photo outing, I was heading to the beach to shoot the morning

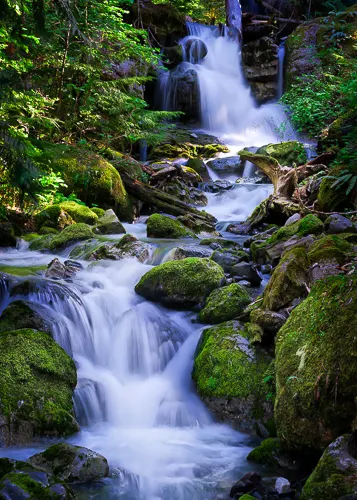

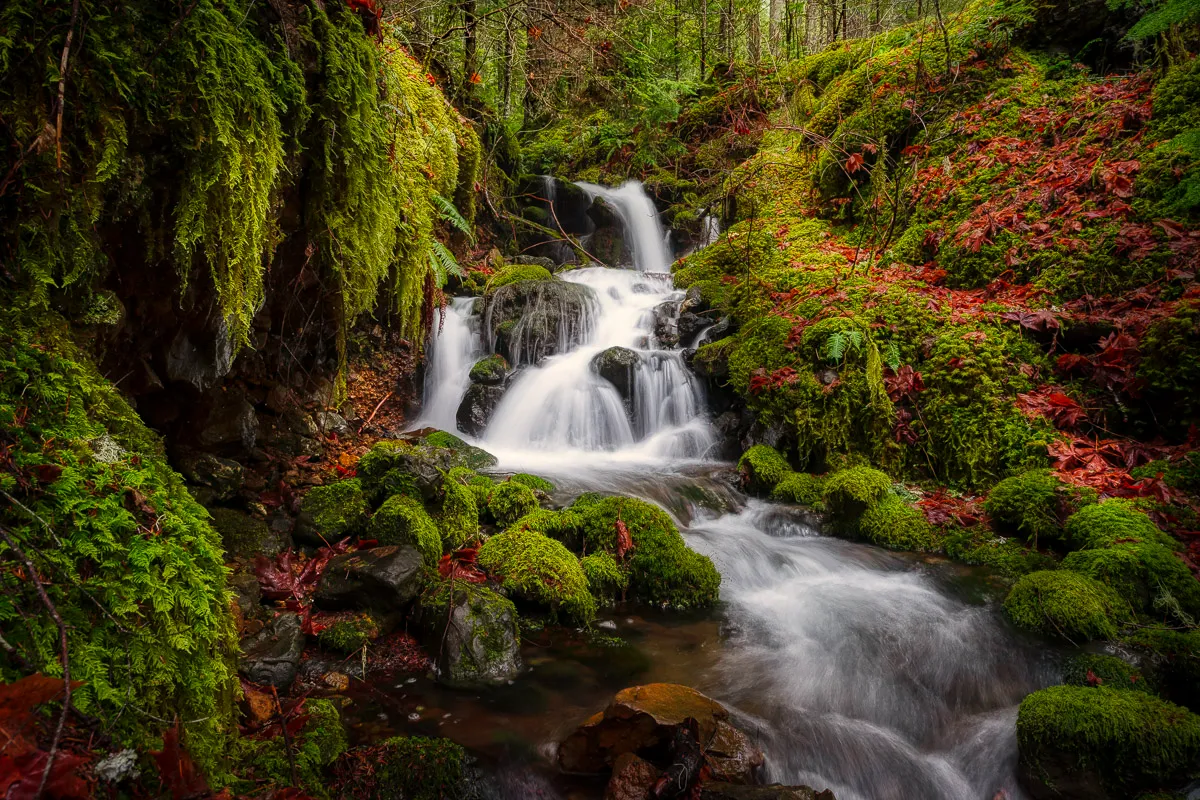
When photographing a waterfall, it is important to think about composition. One way to create an interesting photo is to use the rule of thirds. Divide the frame into nine equal parts with two horizontal lines and two vertical lines. The four points where these lines intersect are your viewers’ focal points. You can then place the waterfall along these lines at one of their intersections or into one third of the photo.
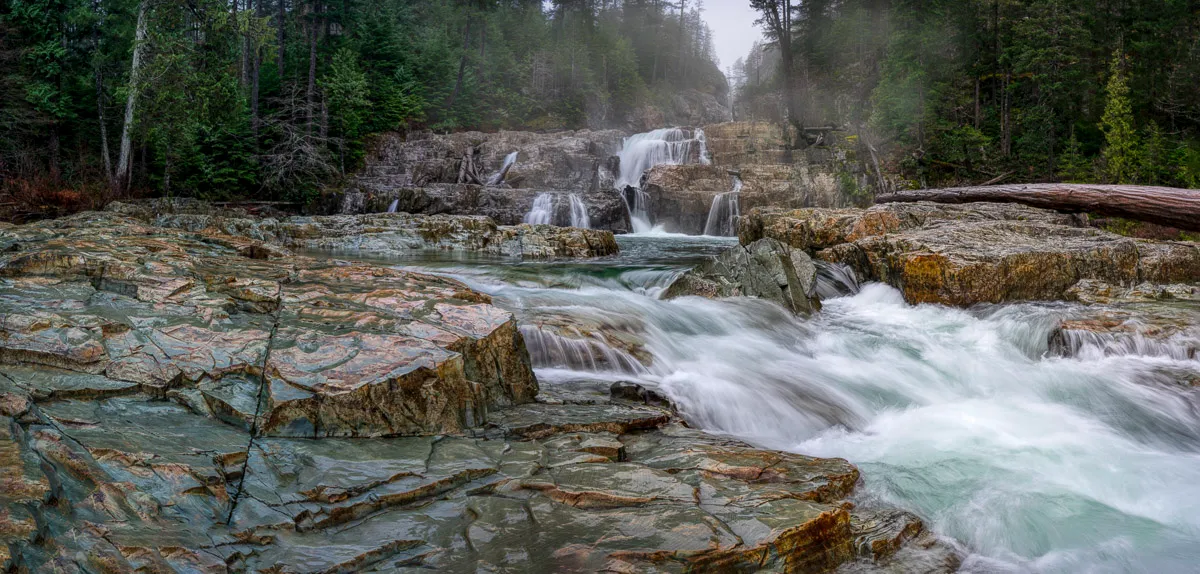
Another thing to consider when taking photos of waterfalls is where to put your camera and tripod in order to maximize creativity. For example, placing them near the edge of a cliff will give a sense of depth to the photograph, while positioning them downstream will emphasize movement in the water.
When composing for a waterfall, take into account not only the rule of thirds but also leading lines. These are elements in the scene which help draw attention towards the features you want viewers to focus on. Adding foreground elements can also add interest and framing to your photo.
When photographing waterfalls it is often best to turn off the image stabilizing systems on your lens, especially when using a tripod. This will prevent a blurred photo caused by the movement of the Image stabilization system.
There may not appear to be a difference on certain cameras / lenses, it does in many older lenses. The camera is already rock solid on your tripod. We recommend turning stabilization off, even if it is just to conserve batteries.
You might be surprised by the results of turning off stabilizing systems when there is no motion. Experiment with both options and see which you like best!
When photographing a waterfall, it is important to focus on the correct point in order to create a pleasing photograph. There are two things you need to consider when focusing: what should be in focus, and how do you achieve that focus?
For some people, setting the focus before connecting the camera to the tripod makes focusing simpler. Other options include simply moving your AF point, or turning on ‘live-view,’ which allows you to touch or pick the area of the shot you wish to focus on.
One of the most asked questions I receive is what F-stop or aperture is best to have the complete waterfall in focus? Rick Salomon said it best “it depends”. If I’m in the dark woods shooting a waterfall that is a straight drop on the side of a mountain. I may use F5.6 to F10, because a large depth of field is not required. If the waterfall is in a wide open area, like Niagara waterfalls, then I may need an F16 to F20 because I want everything surrounding the waterfall to be in focus as well. To understand how depth of fields is calculated, check out the Cambridge in colour DOF calculator.
When photographing waterfalls, it is important to get the exposure right. This will help you avoid overexposing highlights and getting pure white in your shot.
One way to check your exposure is to use your camera’s histogram along with your camera highlights alerts. This will help you find areas that are blown out, AKA pure white.
A spike on the extreme right side of the histogram shows an overexposed shot. This means that some portions of your image have a brightness level of 100%, resulting in pure white pixels.
Which is easy to do when photographing waterfalls, after all the falls are white.
Whenever using a tripod, there is a risk of moving the camera when pressing the shutter button. Resulting in a slightly blurred, out-of-focus image. Using the ‘drive mode’ and setting a 2-second delay can help. If your camera doesn’t have a delay function, you may use a shutter remote for your camera. Failing these options, just press the shutter button as gently as you can.
When photographing a waterfall, it is important to use the right filters to get the best picture possible. ND and polarizing filters are two of the most important filters to use when capturing waterfalls.
Neutral density filters assist in preventing light from entering the camera, allowing the shutter speed to be extended. They are helpful in making sure that your photos don’t come out overexposed.
When photographing waterfalls, polarizing filters help reduce the reflections of the water on the surface of rocks and even the water itself. They also help saturate the colours of the leaves and surrounding foliage.
“The master has failed more times than the beginner has tried” – Stephen McCanie
The allure and splendour of chasing waterfalls never fades. I know I’m not alone. It’s not just a photography thing. Hiking to a waterfall and then sitting in awe of its magnificence while the water cascades over rocks has been one of the most rewarding experiences I’ve had in photography. They look amazing up close.
I’ve listed my top mistakes to avoid while photographing waterfalls below.
When visiting waterfalls, it’s important to make sure you’re wearing the right shoes. Many people make the mistake of not wearing suitable footwear and end up slipping and falling into the water. This can be dangerous, especially when there are sharp rocks in the area.
Make sure you wear a good pair of hiking boots when checking out local waterfalls. This will help keep you safe and prevent you from slipping and falling into the water.
In order to get the sharpest images possible, you’ll need to use slow shutter speeds which can be difficult when photographing waterfalls without a tripod. This can be difficult to do when there’s not a lot of light available, so having a tripod will give you more control over your camera settings. Tripods are also essential for waterfall photography, so if you’re interested in this type of photography, don’t leave home without your trusty tripod!
Image stabilization on today’s mirrorless and DSLR cameras is incredible, and it’s possible to photograph waterfalls without using a tripod. However, it depends on how slow you want your shutter speed and how crisp you want your image.
You make the creative decision about how you want the water to appear in the photo. You can shoot at a slow shutter speed with in camera image stabilization, but it’s tough to get that silky smooth effect without a tripod.
When photographing waterfalls, it’s important to use the right lens for the job. Many photographers make the mistake of only using a wide-angle lens (16-35mm). Another option for waterfalls is a 50 mm or a telephoto lens. Just remember that a wide angle lens distorts and a telephoto compresses.
Another mistake some photographers make is not getting close enough to the waterfall. This can result in photos that lack detail and are not very interesting. If you can get close enough to fill up most of the frame with water, you’ll likely have a more successful photo.
Ultimately, it’s up to the photographer to choose the technique that works best for them. Some people prefer to use a wide-angle lens in order to create an intimate portrait of the waterfall, while others prefer to stay further back and capture more of its surroundings. The choice is yours!
When photographing waterfalls, it is important to experiment with different shutter speeds to see how they impact the image. Many photographers make the mistake of using only one shutter speed, and this can often lead to disappointing results. By experimenting with different speeds, you can find the right setting that captures the waterfall for your vision.
Shutter speed is the most important setting when photographing waterfalls. It can have a dramatic impact on the final image, so it’s important to experiment with different speeds before taking a picture. If you want a milky, creamy look, shoot slightly higher than one second. If you want more detail in the waterfall, try using a faster speed.
When photographing waterfalls, it’s important to know which filters to use and when. One common mistake is using a neutral density filter (ND) when it’s not necessary. This can lead to blown highlights in your photos and decreased image quality.
A better option and one I prefer is shooting waterfalls with a circular polarizer. This filter will help you achieve the results you’re looking for by reducing glare and increasing color saturation. In addition, it can also help with reflections from the water surface.
If you find that you need to reduce the amount of light hitting your camera even more, consider using a three-stop ND filter instead of a ND filter with a higher stop value. This will help keep your photos looking sharp and clear without sacrificing quality.
In my experience most photographers just get lazy and leave the ND filter on. Don’t be lazy!
Mistakes or shooters’ remorse, whatever you want to call it, I’ve done it. Slowing down the shutter speed will give you the effect you want in the water, but if there is just a little breeze, it will blur the rest of the image, especially leaves and vegetation. Without question, this frustrates me the most. No one to blame but myself and even if there was no wind, you can always count on me photographing fuzzy leaves.
Sometimes the slightest breeze is created by the waterfall, therefore pay attention to the leaves, trees, and greenery. Often capturing a second shot with a quicker shutter speed (1/100 or higher) to freeze the leaves and greenery is needed. You can then blend two photos using layer in your favourite photo editor.
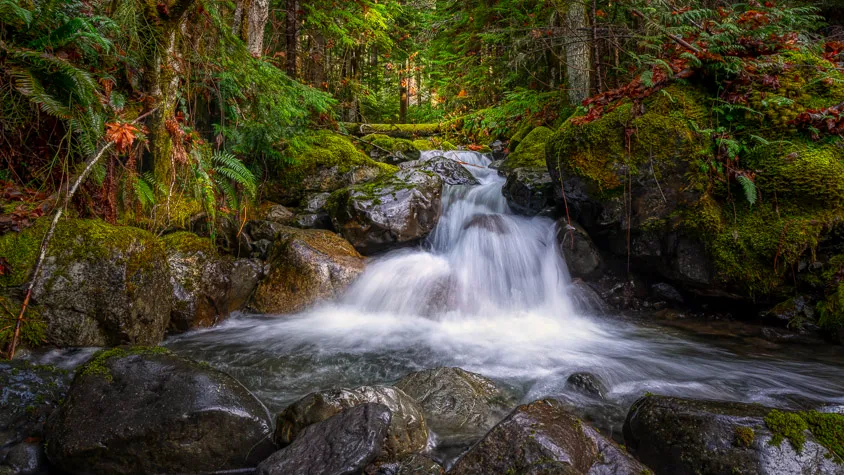
When it comes to photographing waterfalls, many people make the mistake of only shooting on a sunny day. You can get some amazing results by photographing waterfalls on a cloudy and rainy day as well!
Sunlight pouring through the forest canopy above the waterfall can sometimes enhance the image. Photographing a waterfall on an overcast day is just as awesome. Clouds are nothing more than a big soft box, providing equal light throughout your photo with no glaring highlights on the waterfall or the forest floor. Your colours are saturated, and the shadows have incredible detail.
Spray from the waterfall on the lens is likely the culprit. Wipe it dry and try again from a different angle or move back. Lens flare, caused by stray flecks of light entering the corners of your lens, might be the origin of the dots; if you have a lens hood, apply it. If the sun is in your shot, attempt a composition that eliminates it.
If your ISO is set to ‘Auto,’ the camera may select a high number, resulting in a faster shutter speed. Manually set the ISO instead of auto.
Maybe there is just too much light, and you can’t set a slow enough shutter to freeze the water, even with the lowest ISO. if it’s really sunny, you may need an ND filter to get that smooth silky effect.
You may have long exposure noise reduction activated.
Long exposures create higher ‘noise’. Having noise reduction turned on means immediately after taking the photos, the camera will take a second photo of the same duration, with the shutter closed. Trying to remove the noise in the waterfall photo. Hopefully resulting in a slightly less-noisy photo in the end. It takes ages though, and I’ve never found it that worthwhile, and so being impatient, I turn it off unless I am doing stars, or the Milky Way.
There are a number of online resources that can help you do this, but one of the best is the World Waterfall Database. This website has an exhaustive list of waterfalls from all over the world, complete with photos and information on how to get there.
If you’re looking for a more specific waterfall, or want to find waterfalls near you, I recommend using AllTrails. This app allows you to search for waterfalls by location and see which ones are closest to you.
Also check back often on my website as I work through adding more trips from Vancouver Island.
By following the tips in this guide, you’ll be on your way to taking amazing waterfall photos in no time! And don’t forget to check out our other photo tips while you’re here.

On my latest photo outing, I was heading to the beach to shoot the morning
One of my favourite quick hikes near Cumberland is the Cumberland China Bowls, also known

Beginner landscape photography can feel overwhelming at first, but a few simple habits will improve